The job of an online course developer is not easy. It involves combining learning methodologies backed by decades of research with the latest technology. You also have to stick to a fixed process of instructional design for the best possible results in terms of learner engagement and course intuitiveness. Yet, there are still ways to optimize your online course development process—and make your life a tad easier.
If you’re new to online course development or looking for tips to standardize your current process, you’ve come to the right place. In this post, you’ll find step-by-step instructions to build an online course. You’ll also discover tips for every step of the process, so you can move from one phase to another smoothly, like a seasoned pro.
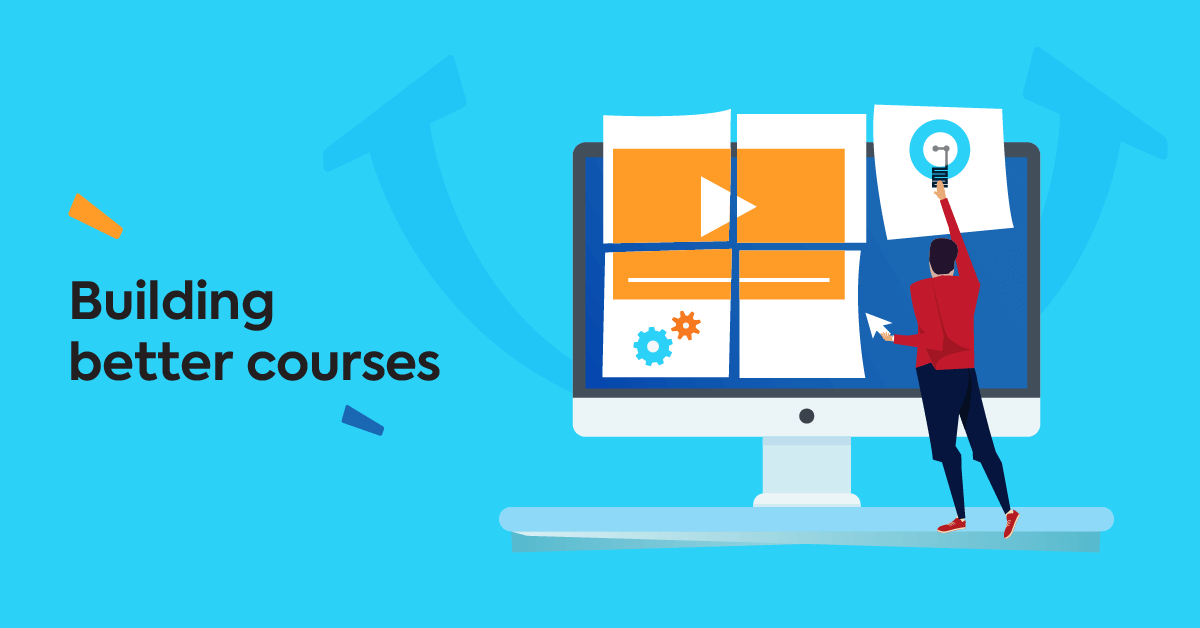
The online course development process
There are so many boxes to tick off when developing online courses. And the thing is, they must be ticked off in the right order. Following the 8-step process below will help you work more focused, taking care of every detail on time.
So let’s dive in!
Step 1: Build learner profiles
Assuming you have decided on the subject matter of your course, the first step in course development involves identifying your audience. To do so, you need to build learner profiles by answering questions like the following:
- What are the demographics of your intended audience? Age, gender, occupation?
- How much time can they spend on the course per week?
- Are they joining the course to enhance job skills or to foster their personal development?
Knowing your learners and what their learning needs are is essential to move to the next step.
Step 2: Create your learning objectives
A learning objective describes what learners will be able to do after completing the course. Understanding the needs of your learners and setting clear learning objectives that address these needs is the key to building an online course that attracts the right audience, holds their attention, and is ultimately beneficial for anyone.
Think of learning objectives as the selling points of your course. They’re not just for your “convenience.” Υou’re actually going to include these in your course description to incentivize learners.
Usually, learning objectives are phrased like this:
After the course, participants will be able to:
- “Identify phishing and social engineering scams. Use public wi-fi safely. Protect their devices from malware.”
- “Speak with confidence. Clearly articulate information. Close sales deals 50% faster.”
- “Identify different art movements. Know the difference between Manet and Monet.”
You get the idea—you need to be realistic, precise, and direct. Having clear learning objectives will also help when building the content of your course, so we’ll come back to them later.
Step 3: Evaluate your current content
Developing online courses involves reviewing and repurposing current content. Doing this will not only save you time and money but will also keep your libraries updated.
See if there is content that you can use as-is. Let’s say that you are building a course about negotiation skills. If you previously offered a course on advanced sales skills, chances are there is some worth keeping learning material around.
Is there content you can repurpose? We’re all about some recycling. It’s good for the Earth and, in this case, good for your budget too. Repurposing content is easy. For example, you can use the key takeaways from a webinar to create infographics. Or, turn a (may we say boring and best to avoid?) PowerPoint Presentation into a fun podcast.
Create, deliver, and store online courses with TalentLMS
The training platform that users consistently rank #1.
Easy to set up, easy to use, easy to customize.
Step 4: Plan your resources
To put all your ideas together and build an online course, you will need the right people and the right tools.
- Human resources: An eLearning team needs an instructional designer, a Subject Matter Expert, content writers, and graphic designers. Possibly an instructor too, for the actual teaching part, or a narrator if you want to create eLearning videos or podcasts.
- Tools: If this is not your first course, you probably already have some tools in place. Professional webcam and microphones, a video editing and recording tool, video conferencing software, and an image editor are essential for creating new content and repurposing old. Or, you can skip most and invest in a Learning Management System.
Step 5: Choose your delivery platform
The platform through which you’ll deliver your course is the most important investment you’ll make. The right Learning Management System will also significantly simplify the online course development process. Opt for a full-featured and user-friendly LMS that enables you to build courses from scratch, or upload and manage existing content with no hassle.
The benefits of investing in an LMS don’t end with course delivery. Some training platforms give you access to extensive reporting. With in-depth reports, you can monitor not only completion rates but also learner engagement with every aspect of the course.
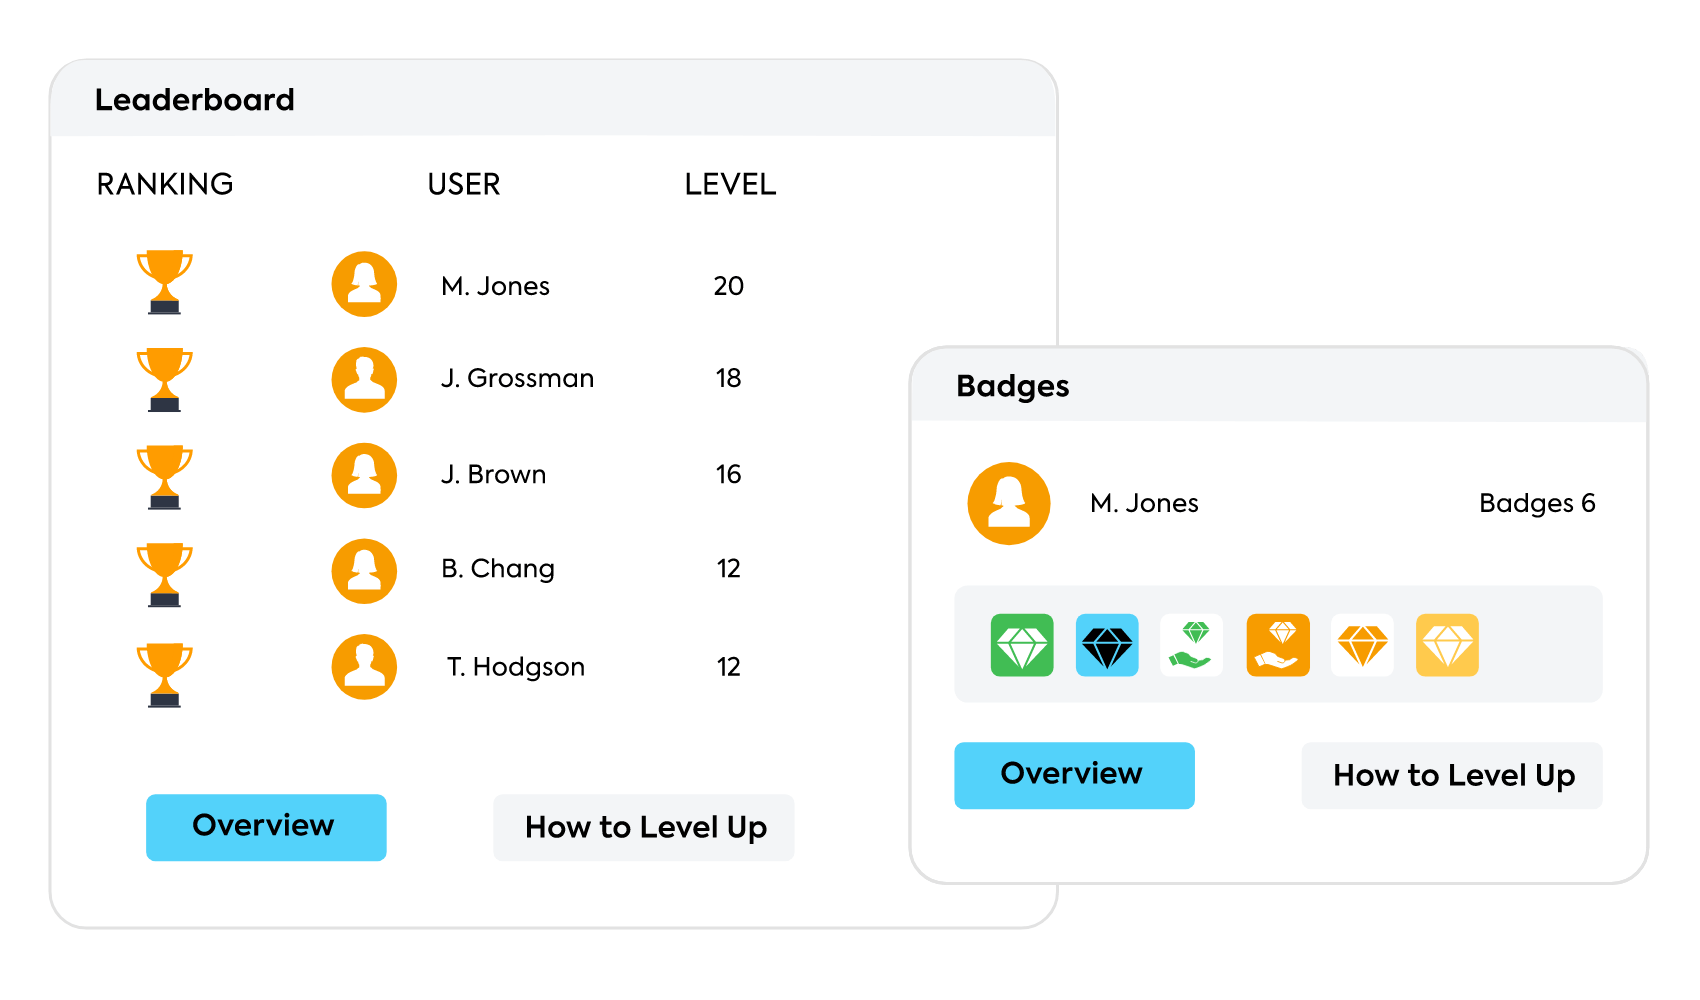
Keep an eye out for features your learners will enjoy too, such as easy enrollment and an intuitive user interface to navigate the course with ease. Plus, a rewards system via certificates and gamification elements will help fight online learning fatigue and keep your learners engaged.
Add a playful touch to your training with TalentLMS
The training platform that users consistently rank #1.
Easy to set up, easy to use, easy to customize.
Step 6: Create a storyboard
Your team has all these great content ideas in mind—video, images, quizzes… But you need to check whether these elements are all coherent and should actually be used in the course.
A storyboard, even a simple, text-based outline, will help you organize online course development. As you create your storyboard, you’ll get a better sense of what needs to stay and what needs to go. You will also create a first “preview” of the course that will serve as a roadmap for the entire eLearning team.
To ensure you’re on the right path, revisit your learning objectives. The training material should first and foremost achieve the learning objectives of the course. At the same time, you need to respect the different learning preferences of your audience.
For example, if you’re building a course on public speaking skills, you should choose video over text. This way, learners will see in action and best internalize the body language, tone of voice, and other factors that contribute to the delivery of effective public speaking. For your visual learners, squeeze in a few infographics with the main points.
Step 7: Start creating the content
Time to materialize your ideas. This step is at the core of eLearning course development and brings you one breath away from the realization of this ambitious project.
Your eLearning team works closely now to create from scratch and reuse or repurpose already available learning content. The storyboard will help you prioritize and delegate tasks more efficiently.
And if you have chosen your LMS wisely, putting your course together should be the most rewarding and satisfying part of the process.
Step 8: Test, review, and revise
Better to trial and error with a selected few than with your final audience. Time for course review and quality assurance to fix bugs, glitches, and mistakes before final deployment. This testing phase is usually done by the course designers, facilitators, and a few learners.
- Start with an alpha testing with your team: Well, now, how embarrassing would it be if you encountered a “their/they’re” situation on the premiere of your course? Or, if a bug didn’t allow learners to submit their answers at the final quiz? This is where the importance of a pilot run comes in. It saves you from tech mishaps, embarrassing glitches, and distracting mistakes in spelling and grammar before the actual launch.
- Do a beta testing with a few learners: Part of the online course development process involves asking for feedback from the learners. Form a group of brave volunteers (definitely people who haven’t worked on the course) and get their input regarding the look, feel, and content of the course. This is also a good way to confirm your learning platform is easy to navigate.

Conclusion
Creating an efficient online course development process is a tough undertaking. While it may seem that most of the steps are carved in stone, the truth is that it all comes down to the dynamics of your team.
If you’re just getting started, be patient. It might take some time before your team finds its footing and figures out the most efficient way to work. Until then, this guide is a great start to keep you on the right track and lead you throughout the process.
Originally published on: 08 Nov 2017